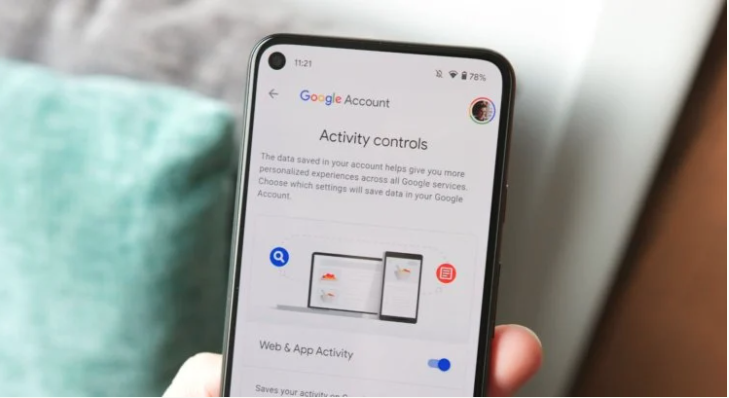
How to password protect your Google browsing history
Google’s approach to user safety has always raised more questions than Apple’s. Allegedly, Cupertino pays more attention to the privacy of their customers, while the search giant does nothing but profit from them. But Google, unlike Apple, has a separate site where all our data that the search giant collects is collected, while Apple does not have anything like that. There you can see your search history, YouTube videos watched, where you’ve been, and more. True, this data did not have any protection before. And now there is.
The site in question is called “My Actions”. It collects all the information about how you interacted with Google apps and services. There you can even find recordings of voice calls to the Google Assistant, sites you have been to, places you have visited, etc., etc.
Previously, to view all this information, it was enough just to go to the corresponding site from the computer of the user who owns this data. But now for this, you need to verify your identity by entering a password.
How to put a password on Google history
Google does not automatically password to My Activities. Therefore, in order to protect them, you will have to enable the corresponding parameter forcibly:
- Follow this link to the My Actions site;
- In the notification “Protected by Google” click “Manage”;
- In the window that opens, select “Enable additional check”;
- Log in to your account again.
After you turn on the verification, each time in order to gain access to the data on your actions, you will have to click on the “Confirm” button and go through authorization. However, there is one catch here, which is the autofill of authorization data. It is she who reduces all the established protection to practically nothing.
I think for the convenience of authorization, both you and I use password autocomplete. Therefore, if someone gains access to your computer and discovers that you have autofill enabled, they can easily log in to your Google account, which means they can see all the data on the My Actions site.
How to turn off password autocomplete
Therefore, for reliability, it is recommended to disable autocomplete on Google sites. It may be less convenient in the future, but it will ensure your safety. I explain using the example of Google Chrome:
- Launch Google Chrome and open “Settings”;
- Find the “Autocomplete” section and open “Passwords”;
- Find the login password for your Google account;
- Click on the three dots opposite and select “Delete”.
Unfortunately, Chrome doesn’t allow you to turn off autocomplete for just one site. Therefore, you will have to remove the entire password. In this case, it is recommended that you learn it well in advance or write it down on a piece of paper and store it in a safe place. In principle, you can write down the password in the password manager in order to insert it from there, but for this you also need to download the manager itself, which not everyone will like.

